How to Configure Sales and Purchase Taxes in ERPNext
Learn to configure Sale & Purchase Tax Templates in ERPNext, streamlining tax automation for transactions. Optimize your tax management! Subscribe now. Learn how to configure ERPNext purchase sales tax, GST templates, and item-level taxes with easy-to-follow steps, tables, and FAQs.
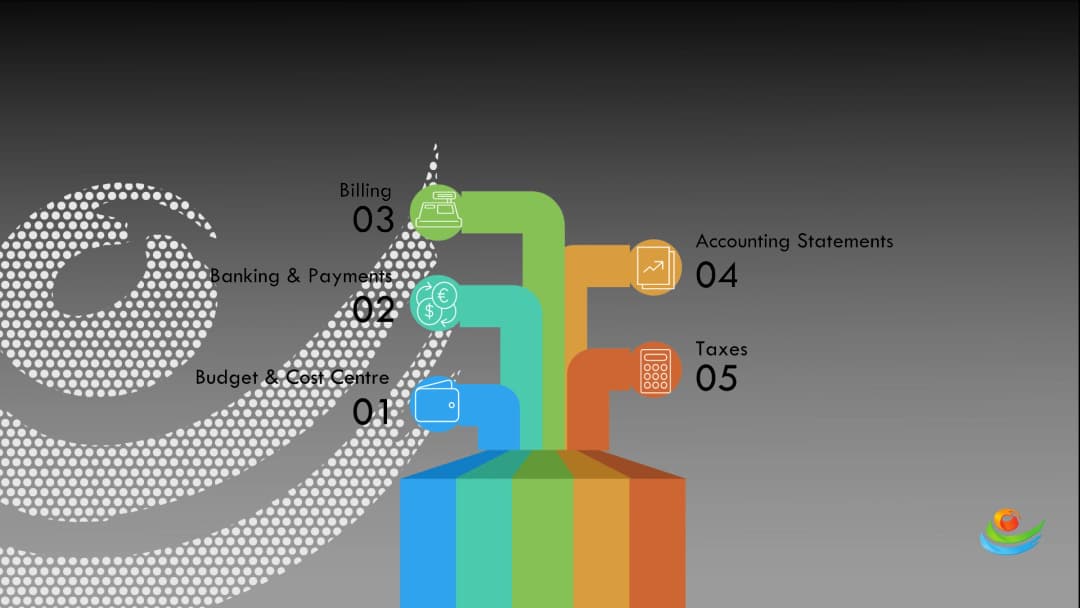
ERPNext is a versatile Enterprise Resource Planning (ERP) software that allows businesses to manage their financial transactions effectively. Configuring ERPNext sales tax and ERPNext purchase taxes is crucial for accurate financial reporting and statutory compliance. Whether you're dealing with GST, VAT, or other applicable taxes, setting up purchase sales tax templates correctly ensures streamlined operations.
Step 1: Log In to ERPNext
Start by logging in to your ERPNext account using your credentials. Ensure that you have the necessary permissions to configure sales and purchase tax templates.
Step 2: Access the Taxes and Charges Template List
Once logged in, navigate to "Setup" in the main menu and select "Taxes and Charges Template List." This is where you can define tax templates separately for ERPNext sales tax and ERPNext purchase taxes, depending on your business needs.
Step 3: Create a New Tax Template
To create a new purchase sales tax or sales tax template, click on the "+ New" button. This will open a form where you can define specific tax configurations for different transaction types.
Step 4: Define Tax Template Details
In the tax template form, provide the following details:
Tax Category: Select whether the tax is for sales or purchases.
Tax Type: Choose the type of tax, such as GST, VAT, or any other applicable tax.
Tax Rate: Input the percentage rate applicable for your purchase sales tax or sales transaction.
Applicable On: Define if the tax is applied to the net total, item rate, or another basis.
Tax Account: Choose the appropriate ledger/account where the tax amount should be posted.
Tax Included in Basic Rate: Enable this if the item prices already include the tax.
Tax Calculation: Select how the tax should be computed typically "On Net Total" or "On Previous Row Total."
Step 5: Save the Tax Template
After entering all the required tax details, click the "Save" button. You can create multiple templates to handle varying rates for ERPNext sales tax or ERPNext purchase taxes as per regional or product-specific needs.
Step 6: Associate Tax Templates with Items or Suppliers
To apply these tax templates to items or suppliers, you'll need to associate them in the respective master records.
For Items: Go to the Item List, select the desired item, and edit its details. In the "Taxes" section, assign the appropriate purchase sales tax or item-level tax template.
For Suppliers: Navigate to "Buying > Supplier", choose the relevant supplier, and in the "Tax ID" field, associate the proper ERPNext purchase tax template.
Step 7: Test and Validate
Create a few test sales and purchase transactions to confirm whether the right ERPNext sales tax or purchase sales tax templates are being automatically applied and calculated. This helps you avoid discrepancies during actual accounting.
Step 8: Review and Update
Regularly revisit your ERPNext purchase taxes and sales tax configurations to ensure they're up to date with current government regulations and business processes.
Congratulations! You've successfully configured sales and purchase taxes in ERPNext.
By following this detailed guide, you ensure compliance, automation, and accuracy in handling ERPNext purchase taxes and sales tax across your business.


.webp&w=1080&q=75)